Localization Workflow: Building the Perfect 6-Step Process
Building a successful website, app, or game is a substantial project. If you don’t have a clear workflow in place, cracks will soon start to appear in your code.
The same applies when you want to optimize your product for new markets. In order to deliver a good experience for the end user, you need a solid localization workflow.
If you have never attempted localization before, you might be wondering what the workflow would look like. Well, wonder no more — here is your guided tour.
Why Do You Need a Localization Workflow?
To the untrained eye, localization mostly seems to be about translating content from one language to another. While translation is one of the key steps, successful localization involves many more moving parts.
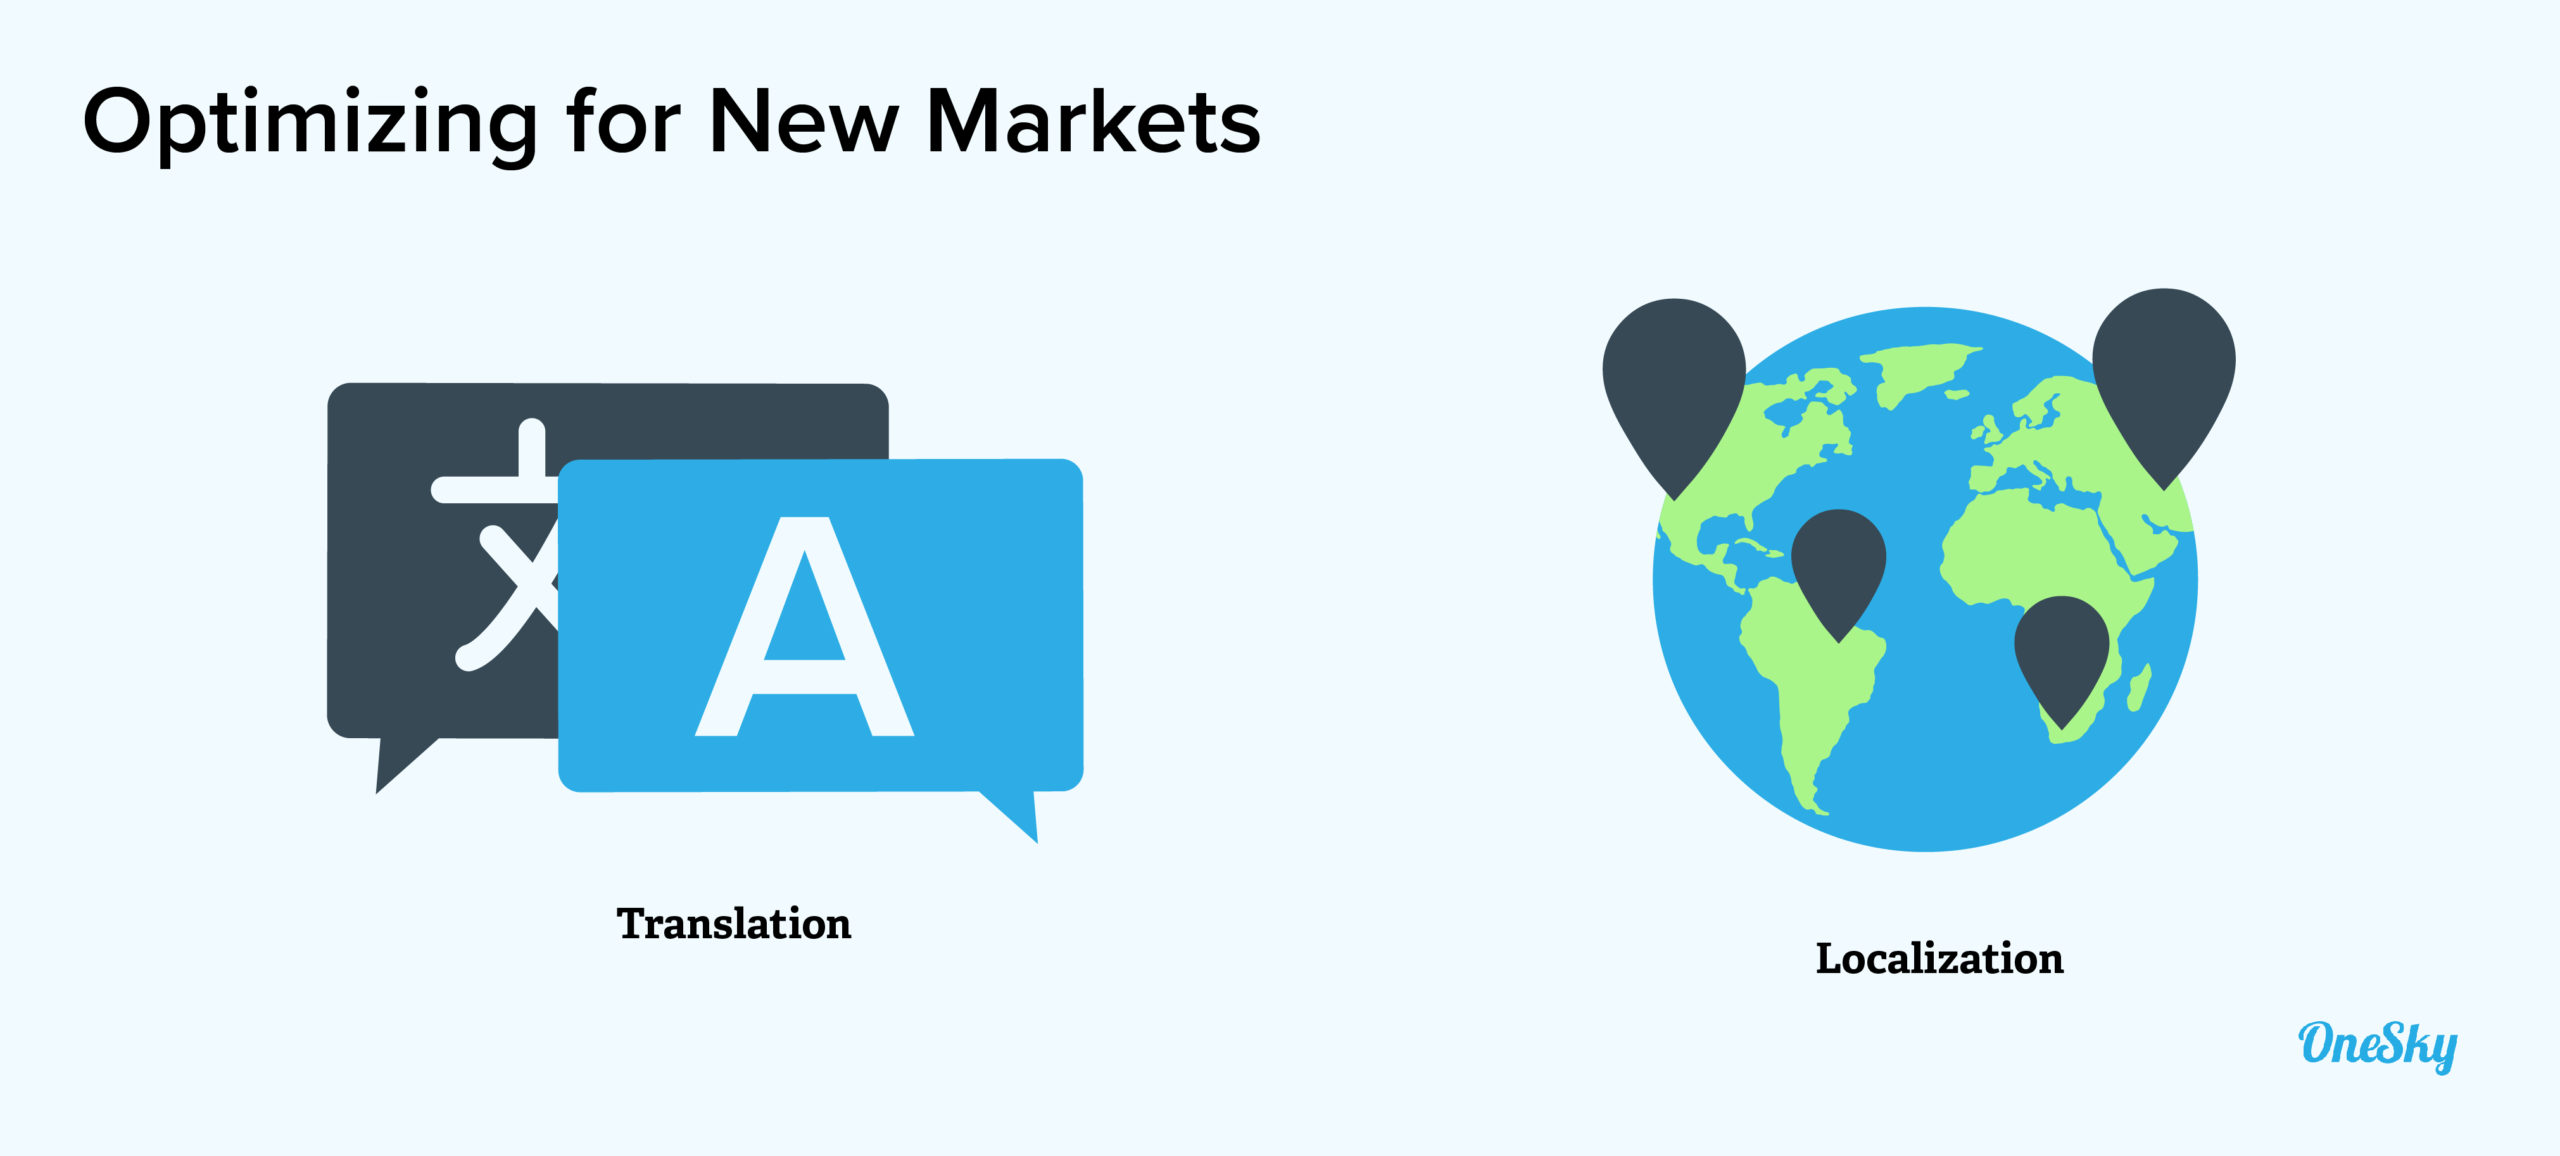
Before you even begin the localization process, you need a strategy. Without a clear understanding of why and how you wish to localize your product, there is a good chance that you will see little return on investment.
Then, there are the practical steps of localization to consider. Content in your app needs to be extracted, translated, reintegrated, and tested before it is published. To ensure a smooth passage from one stage to another, you need a system in place.
The other really important factor in any localization project is the personnel involved. Even if you don’t have outside stakeholders, you will need to designate a localization team, or at least a project manager to oversee the whole operation.
Building a framework that covers all of the above might seem like a daunting task, but it doesn’t need to be.
Localization Strategy
As mentioned above, it’s a good idea to form a localization strategy before you start building your process.
Why? It’s essentially the same principle as deciding on your destination before pulling up maps on your phone. There is little sense in planning out your route without knowing your direction of travel or your reason for driving in the first place.
A complete localization strategy covers many different areas, but some common points include:
- Localization Objectives – What do you want to achieve with localization? Setting KPIs for each project is a good way to measure your return on investment.
- Target Locales– Which languages and locations are you going to target with your localization efforts? When you are looking at global markets, data should lead your thinking.
- People and Stakeholders– Who is going to take the lead on each stage of localization, and which other people have a stake in the process? Be sure to think about the composition of your team, and pick out a localization manager.
- Development Framework– How is localization going to fit with your development life cycle? From agile localization to continuous localization, there are many different options to consider here — so be sure to consult your development team.
- Localization Tools and Services– Which tools and translation services are you going to utilize during localization? Some platforms allow you to manage the entire process in one workflow, and automate certain tasks.
You might also want to think about how you wish to promote the localized version of your product, and decide on a timeline for adopting new locales.
The 6-Step Localization Process
With your strategy decided, you can begin thinking about the process for completing localization.
While there are many different approaches that can be used, the timeline for most localization projects follows a fairly standard path. Here is a closer look at the key steps.
1) Prepare for Localization
If you are localizing your product for the first time, it’s almost certain that you will need to start with some preparation work.
This is because most websites, apps, and games are not built with an international audience in mind. As a consequence, they do not natively support characters from other languages. The same goes for date formats, currency symbols, and many other things.

The process of adapting your product for multiple locales is known as internationalization. We actually created an in-depth guide on the subject.
Aside from these tasks, you will need to prepare your app for translation. In some cases, this involves unlocking text that has been hard coded and converting content files to a format that works with your chosen translation service.
2) Extract Content for Localization
If all of the above is just preparation, the first forward progress in your localization workflow happens when you extract content for translation.
The normal way of doing this is compiling all your text within a strings file, which is then uploaded to your chosen TMS, or translation management system. From there, you can apply machine translation or hire professional translators to work on the content.
Most popular TMS platforms today support common string file types. Some can also handle other content types, such as images and documents. This feature can be useful if there is text embedded within graphics in your product.
An easier way to extract content is through an API — an option provided by a select few localization tools. The advantage of this system is that you have a direct link between your code and your TMS, so you don’t have to upload and download files by hand.
If you plan to update your localized content at any time, using an API can save a lot of time.
3) Translate and Localize Your Content
Unless you happen to have a professional translator on your team, this step of the localization process always involves outsourcing.
There are literally thousands of companies that offer translation services. However, not all are suitable for your specific project.
When choosing your LSP, or language service provider, it’s important to take your industry or niche into account. If you want to localize a video game, you should not expect great results from a service that specializes in translating legal documents. Experience and knowledge are everything here.
Of course, even specialists cannot know everything about your product. For this reason, it’s essential to brief your translators and localization experts well.
As you upload content from translation, insert comments that provide context. If your TMS allows it, you could include screenshots, as well. When it comes to technical terms, a glossary will help your translators to make sense of your content.
Another way you can help your translators is by using a platform that supports translation memory. This feature stores previous translations, so that the same phrases and sentences never need to be translated twice. Over time, this can be a massive time saver.
Machine Translation
You may be wondering where and when machine translation is used.
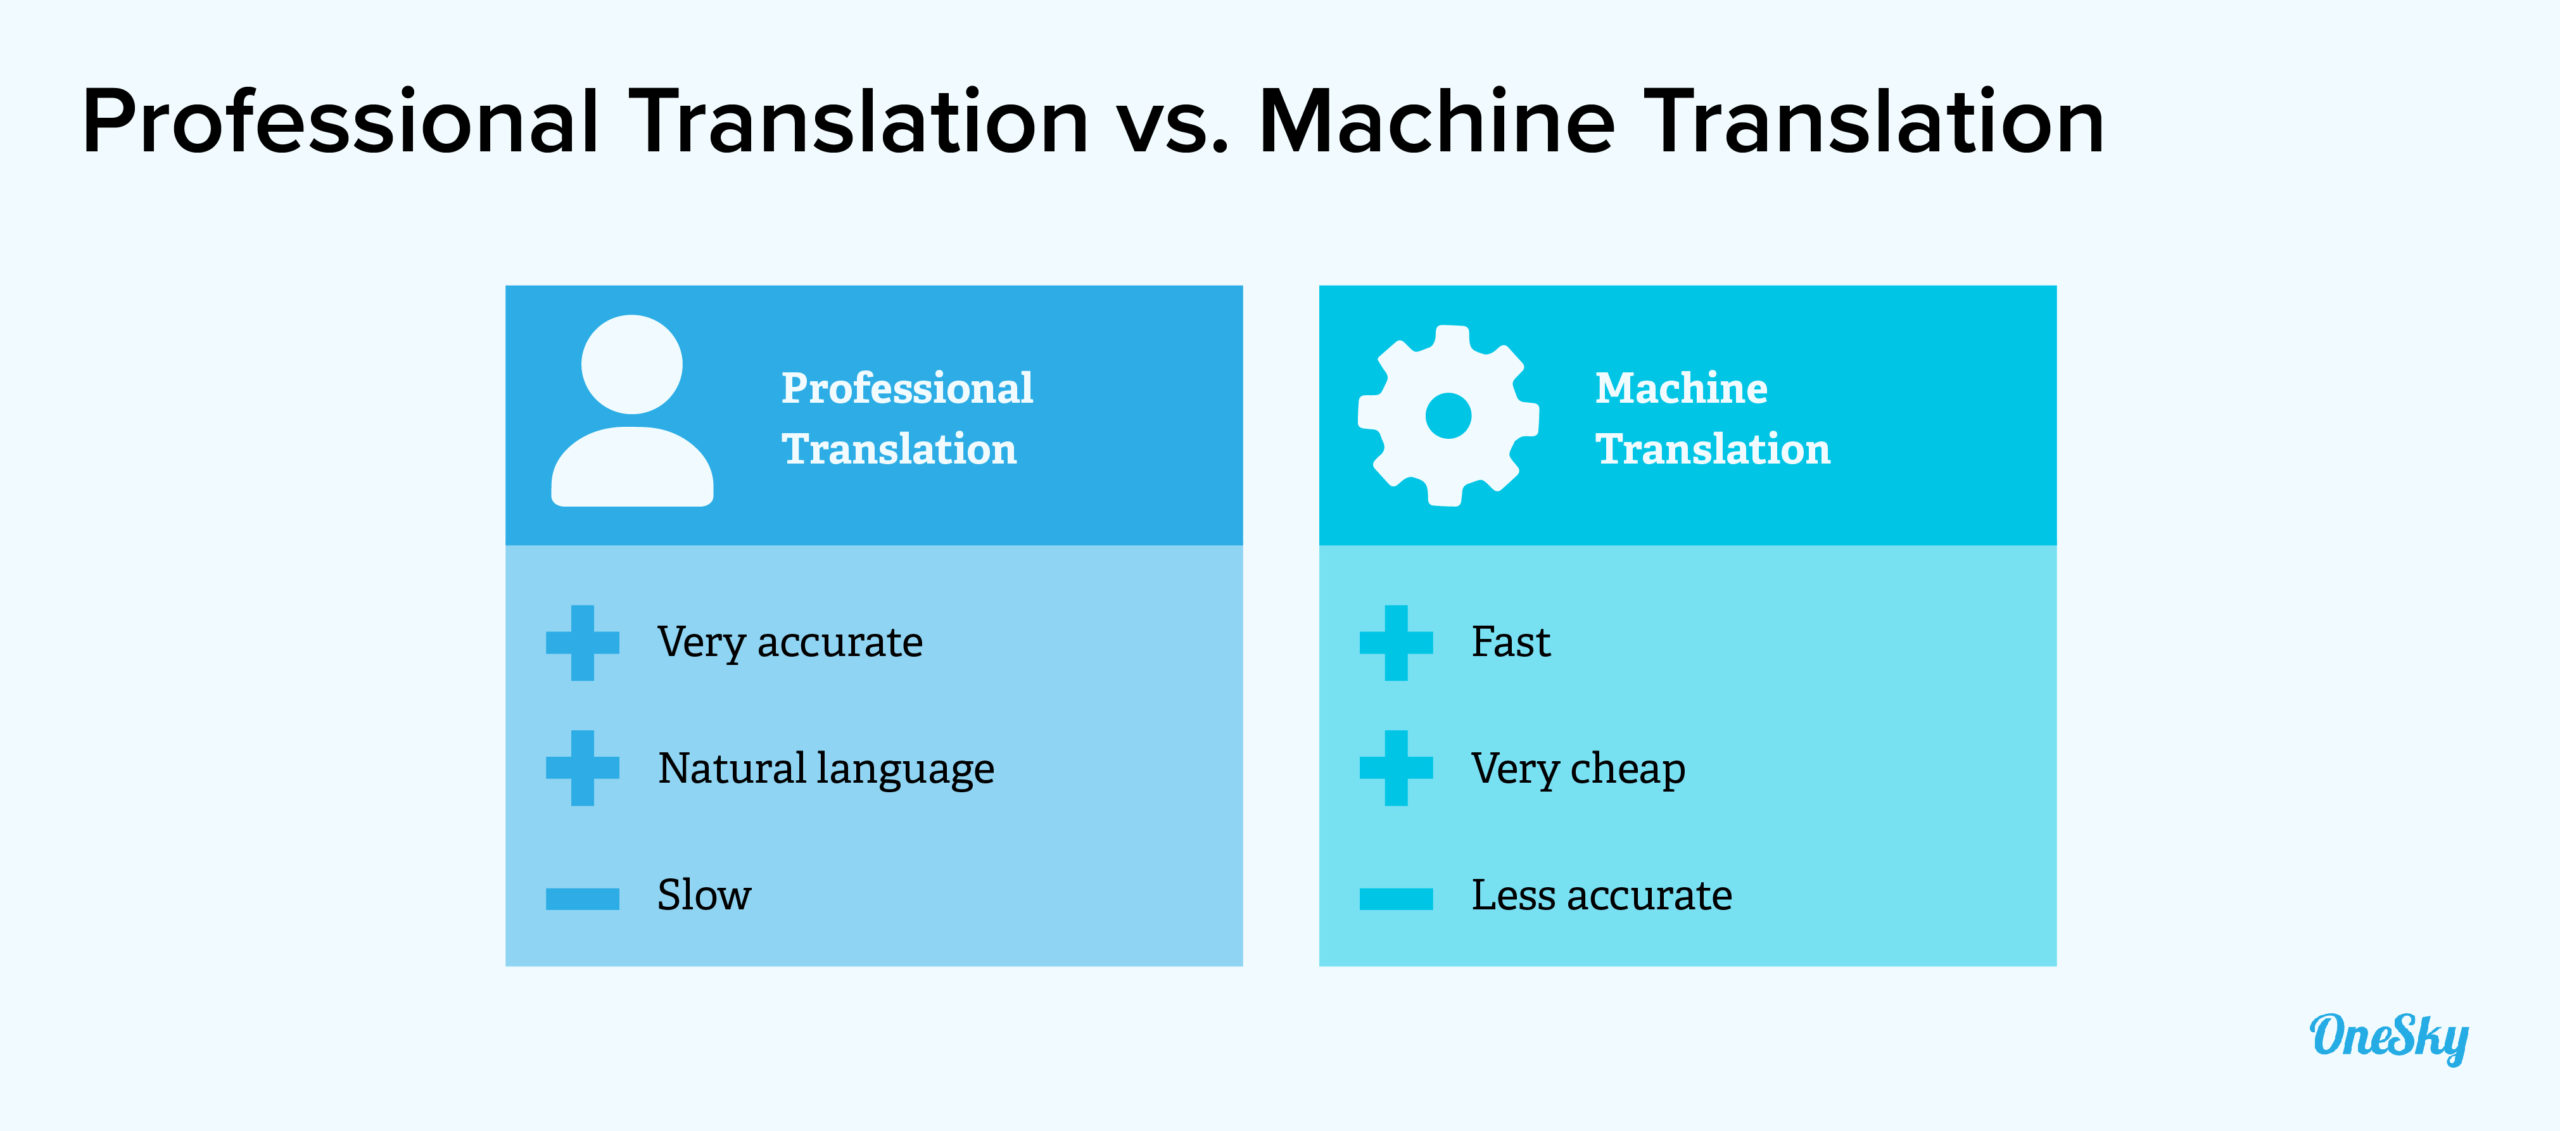
While this technology is impressive and very fast, it is not as accurate as human translation. As such, we don’t recommend you use machine translation without at least some professional oversight.
However, machine translation can be useful for certain purposes:
- Creating placeholder translations during development
- Real-time translation of user content, such as social media comments and captions
- Translating internal documents for better accessibility
4) Review Localized Content
When you receive your translated text, the next step is to review the localized content.
This includes proofreading, and an assessment of translation quality. Some of these tests can be automated; localization tools can pick up basic errors in grammar and punctuation, for example.
In order to verify the accuracy of meaning in your translated text, you may wish to use back translation — essentially a reversal of the translation process, which highlights any problems in the original translation.
Once you have completed your review, you can return the translated text to your LSP for any necessary revisions.
5) Integrate Localized Content
Just as we started by extracting the original content from your product, you now need to reintegrate the localized content.
Most TMS platforms allow you to download text content in the same file format as you originally uploaded it. In some cases, you will be able to drop these files into the designated folder for your localized version. Alternatively, you might have to convert the file back into a format that suits your product.
If your translation management system has an API, you can avoid this stuff completely. Localized content is imported automatically, with strings inserted wherever you have placed identifying tags in your code. Once again, a huge time saver.
6) Test and Release Your Localized Product
If all goes smoothly, your translated content should slide into place without causing any problems.
But when was development ever straightforward?
It’s quite common for localization to disrupt basic functionality in websites, apps, and games. In other cases, replacing the original content with strings of a different length will break some part of your interface. Neither of these issues will please your end users.
The solution is to have a system in place for quality assurance. Specialized localization tools can help you automate some QA tests, but on-device testing is always recommended. There is no better way of discovering the bugs.
Once you are satisfied that your new localized version is ready to go, it’s time to publish!
How to Streamline Your Localization Process
If you pay attention to each of the steps mentioned above, you should be able to build a pretty good localization workflow.
But how do you create the best possible process?
It starts with documenting your workflow. This will help everyone involved to understand what the process looks like, and how their work affects the overall localization project.
Another key move is identifying your localization manager. As with any other project, someone needs to oversee the process. This person needs to assign specific tasks to individual team members, and keep track of progress.
Without having a designated project manager, the localization process can drag on and cost more than it should.
The other main way you can improve your workflow is by choosing better localization tools and localization service providers.
This might seem like an obvious course of action, but far too many companies cut corners with “value” options. The reality is that localization should be a significant forward investment in your business.
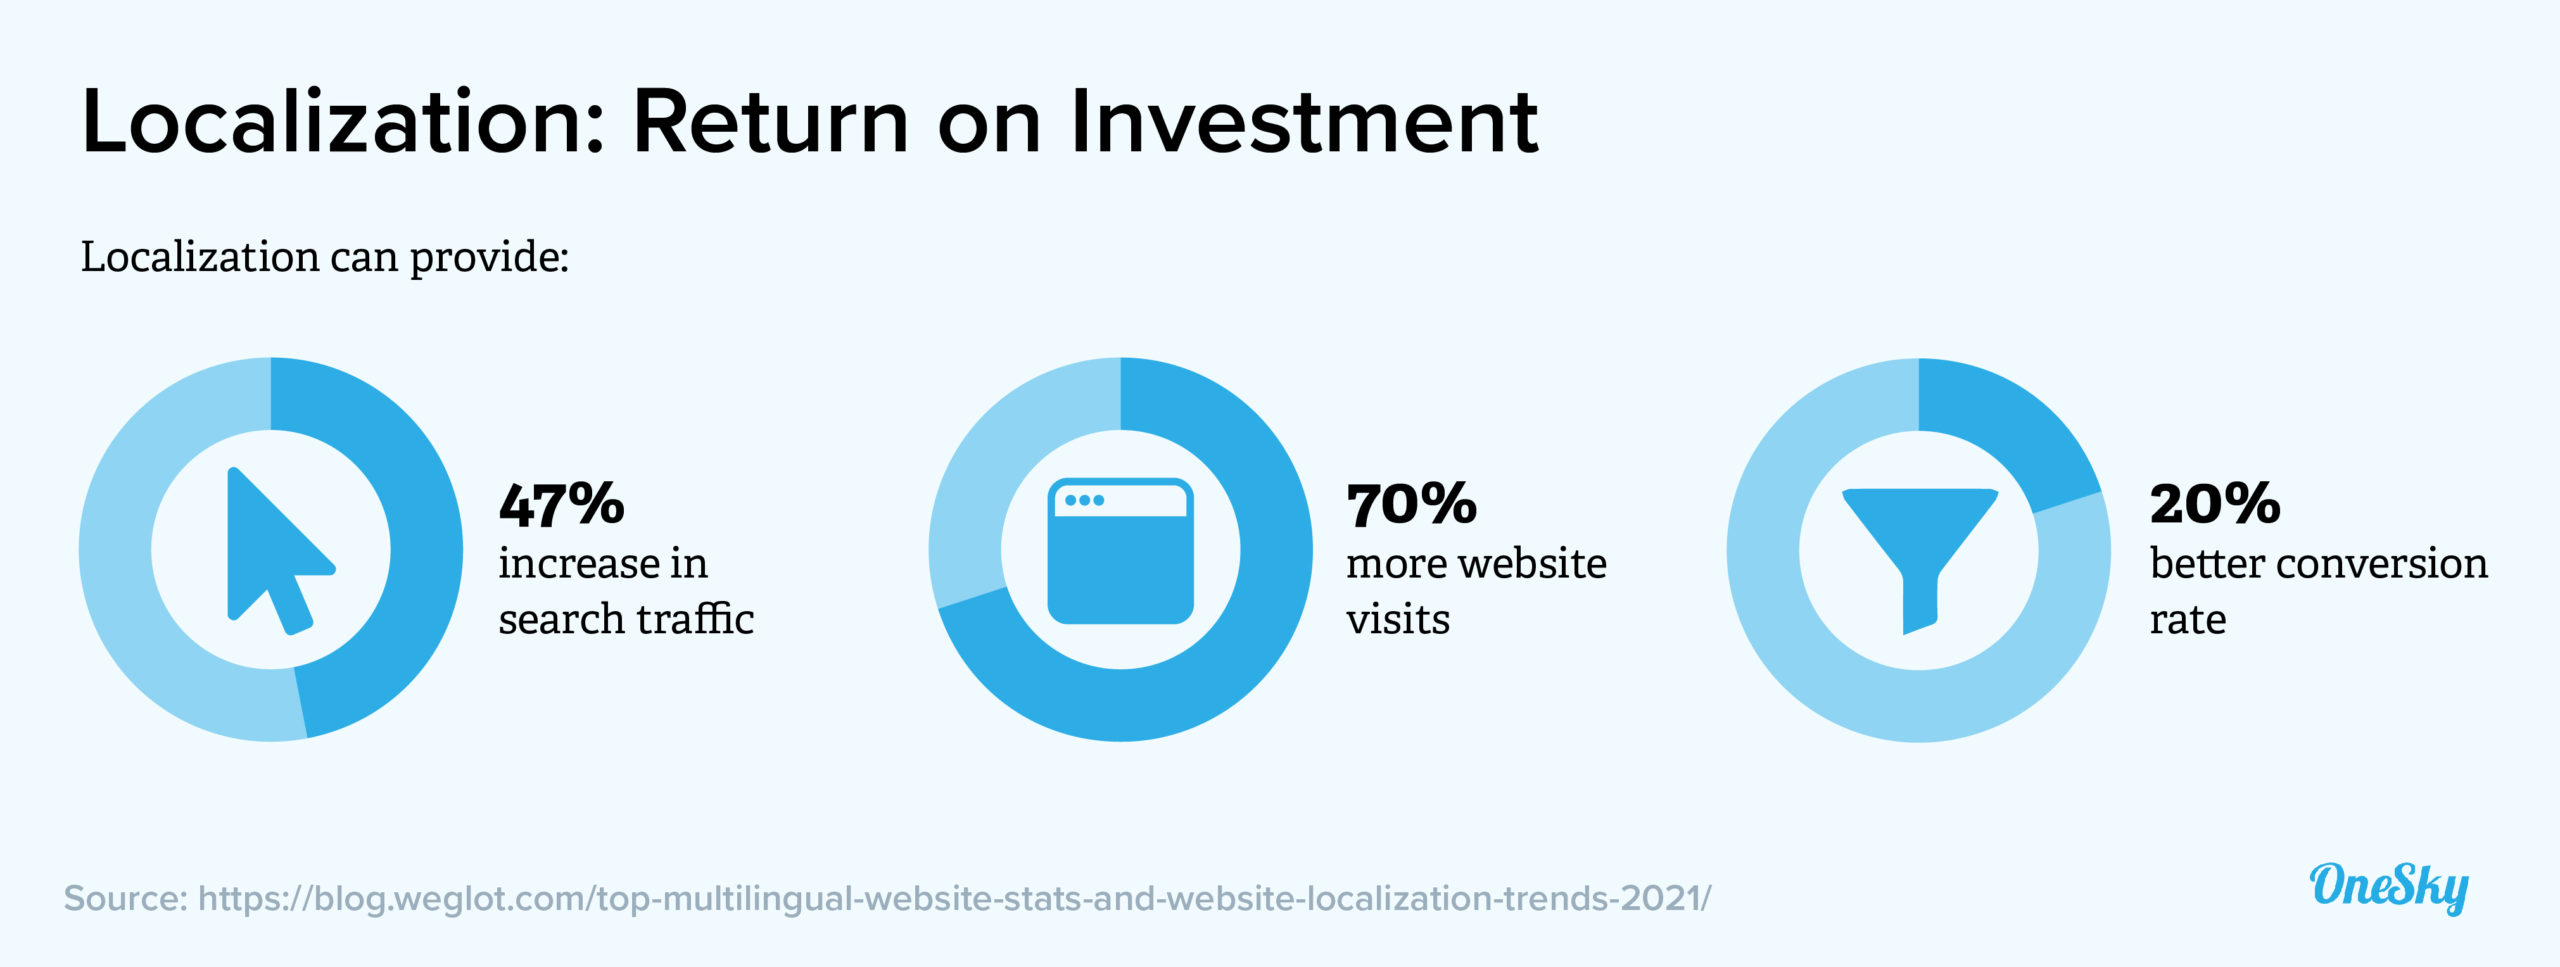
If you want to increase your return on investment, it’s generally better to hire experienced translators, give them better tools, and embrace automation.
Features like an API or translation memory can seriously speed up localization, and the benefits actually increase over time.
OneSky: Manage Your Entire Localization Workflow
If you are looking for a platform that has these features built in, OneSky is worth your attention.
Our end-to-end localization solution lets you import content in dozens of file formats, or through a simple API. You can then hire translators with experience in your niche, covering 50 languages.
Our translation management system provides easy access to machine translation and translation memory. You can also build your own glossary, and upload screenshots to help your translators.
Content can be exported in different formats and through the OneSky API. You can even order on-device testing through the same platform.
Put together, these features allow you to launch in your target language faster than the competition.
Want to give it a try? Sign up free to take a tour, and download our free ebook guide to learn more about the app localization process.


 Written by -


 Written by
